How to Make a Cork Crossbody Backpack
A cork crossbody backpack (Trek Bag) is super trendy, and we can understand why as it's super useful and functional to carry your daily essentials.
Now we're teaching how to make one using our natural cork fabrics:
- arrange your pattern pieces on the cork fabric and trace them;

- cut your pieces with appropriate notch marks;

- cut 2 pieces of the required cork strap and cut out the bottom band;

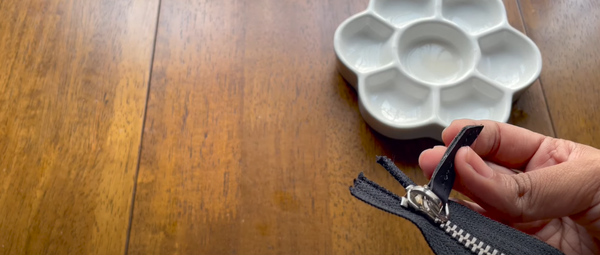
- first let’s prepare the puller of our zippers;

- mark a zipper pattern with slant corners and dented centre point as shown;

- cut out the puller tabs;

- gently place it inside your D- ring, apply glue some glue on the two sides of the flap and paste it;

- make a small stitch in the centre of the pasted puller tab;

- now edge finish the raw sides to give a clean look;
- similarly finish all your other pullers and now they are ready;

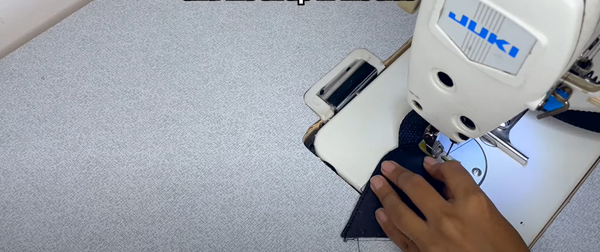
- now we are going to place a zipper in the front panel as shown;

- before we start make sure all the points are marked for the dart as well;

- mark the zipper line at the back and cut open as shown, paste the sides;

- place the zipper on the opening and make an edge stitch;

- slowly and carefully to get precision;

- now your vertical zipper is ready;

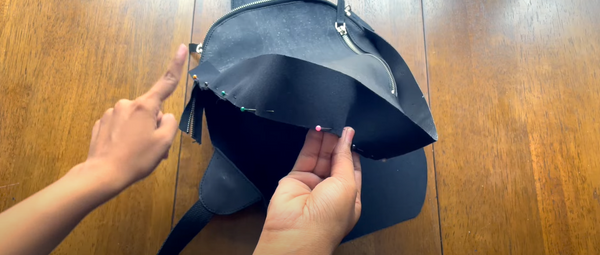
- you will need two flaps to make a pocket bag for the zipper;

- pin the corners of the panel and the zipper and make a stitch as shown;

- similarly stitch the other side too;

- stitch the two flaps together to complete the bag;

- if you open the zipper now it will look like this;

- now make a stay stitch with the front cork panel and the pocket bag;

- close the dart of the front panel as shown on both sides;

- stitch 2 mirrored strap panels neatly one on top of the other;

- make an edge stitch on the three sides leave the bottom open;

- attach a patch pocket if required on the strap and edge finish the strap;

- add one end of the the clasp to the bottom and give a stitch;

- now similarly stick the reinforcement flaps and stitch it with the strap;

- place the strap on the back panel and give a stay stitch;

- similarly for the other end, place the straps together and give an edge stitch;

- now give a stay stitch to the back panel and the strap in the side;
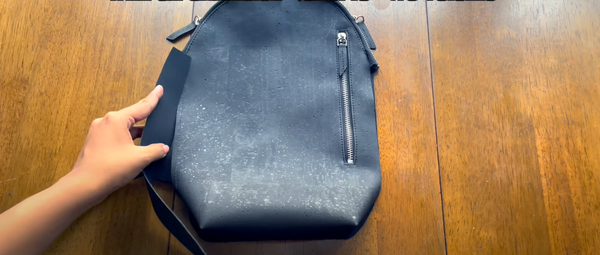
- your front and back panels are ready;
- let’s start stitching the main zipper to the front;

- pin it around neatly and stitch it, then give a front top stitch;

- now stitch the other side of the zipper to the prepared back panel;

- pin them along neatly make sure the straps are pushed in;

- now stitch along the pinned zipper and back panel and finish it with a top stitch;

- stitch along the side and the bottom with an extension panel to give volume;
- pin it along the front and make a stitch as shown;
- stitch the sides and the back panel to now complete the outer shell of the bag;

- prepare a lining bag with the same pattern as the front, back and extension pieces;

- neatly place it inside and hand hem the lining and the shell pieces together;

Your cork crossbody backpack is now ready :)


Leave a comment